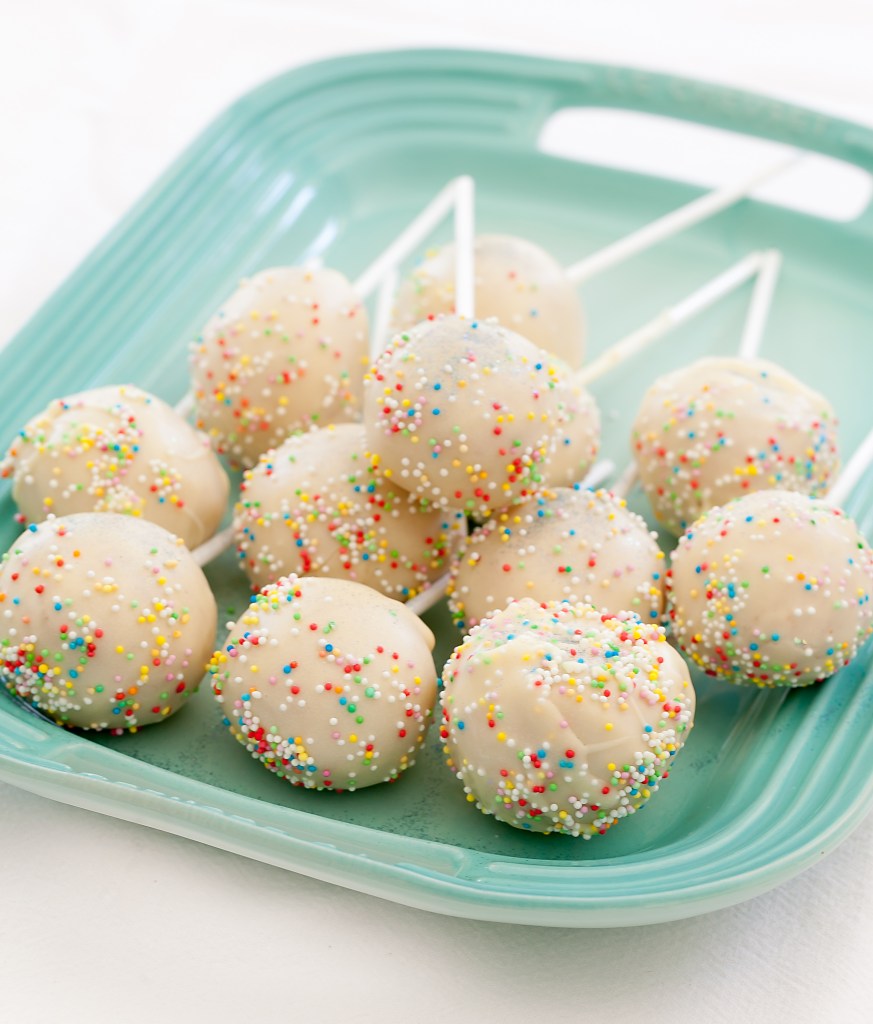
Bite-sized, chocolate smothered balls of delicious, moist cake. What could be better? Cake pops are a great way to serve your cake – plate-free, mess-free and fuss-free! Since these can also be frozen, you can just pull out as many or as few as you need at a time.
Here’s what goes in
For the vanilla cake:
- 4 eggs
- 1 cups of castor sugar
- 1 and 3 quarter cups of cake flour, sifted
- 2 teaspoons of baking powder
- 1 cup of milk
- 100g of butter or good quality baking margarine
- 1 teaspoon of vanilla essence
For the butter icing:
- 100g of butter, softened
- 250g of icing sugar
- 25ml of milk
- 1 teaspoon of vanilla essence
For the chocolate candy coating:
- 200g white melting chocolate, chocolate discs or “Candy Melts” (or white chocolate)
- Half a teaspoons of white vegetable fat
- Powdered food colouring, if desired for white chocolate
- Cake pop sticks
How to do it
Pre-heat your oven to 180°C and grease and line a 20cm² baking tin.
Heat the butter and the milk, until the butter has melted, without letting it boil. Then set it aside to cool. In your cake mixer, blend the eggs and sugar together until they are thick and pale yellow in colour. Add the remaining ingredients, including the cooled milk and butter mixture, and mix to combine.
Bake your cake in the middle of the oven for 30 to 40 minutes, keeping an eye on it. This is just a guideline as ovens vary and the sizes of the pans will affect your required baking time. Insert a skewer into the middle of the cake to check if it is cooked in the middle. Remember to not open the oven door until you’re at least halfway through your cooking time.
In the meantime, make one batch of butter icing. Place the softened butter in a mixing bowl and give it a whizz with your hand-held blender until it’s smooth and creamy. Then begin adding the icing sugar in small amounts, along with the milk and vanilla essence, mixing in between until it’s all blended in.
Once the cake is cool, crumble it by hand and combine with the icing. Using the palms of your hands, roll the cake mixture into small balls and insert the sticks. Place these on a greased tray and pop them into the freezer, preferably overnight. Freezing helps to firm up the cake pops which makes them much easier to work with.
When you’re ready to ice them, melt the chocolate in a double boiler – which could be a heatproof bowl placed over a pot of shallow boiling water – ensuring that the bottom of the bowl does not touch the water. Stir frequently to ensure that the chocolate is melting evenly, and when you have a few small chunks left, remove this from the heat completely as residual heat will continue to melt the rest. Stir in the vegetable fat. At this point, add the colouring if you’re going to use any. Allow the chocolate to cool off slightly, for about 5 minutes, before you begin to coat the cake pops.
Take your cake pops out of the freezer and then, one by one, spoon melted chocolate over them, twisting and turning the cake pop as you go to ensure an even coating. The vegetable fat contributes to a smooth finish and hardens up nicely, and while this is of great benefit, you need to act quickly if you’re going to add any decorations to the cake pop. You want them to stick before the chocolate hardens. Decorate your cake pops as desired and stand them up to dry by sticking them into a block of florists’ foam (oasis) or a polystyrene block.
From start to finish, this certainly isn’t a piece of cake, but the finished product is well worth the effort!